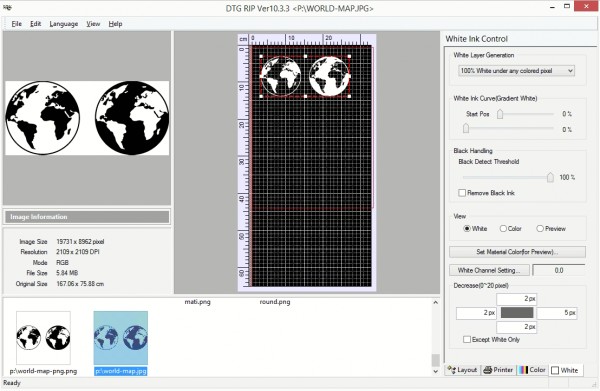
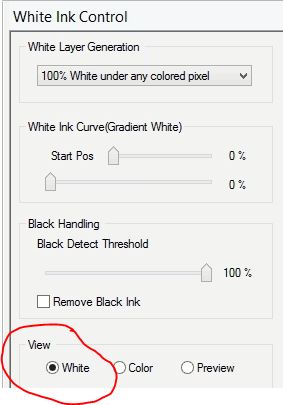
You can preview where the white ink will print by clicing on VIEW WHITE on the white tab:
Where white will print will depend on your image formatting, as well as your settings.
See below for an explanation of different settings:
The White Ink Control Tab allows you to configure the usage of white ink in your prints and has many configuration options to control the several aspects of using a white layer in your print. Every change that is made to the settings on this settings page will update the page preview screen.
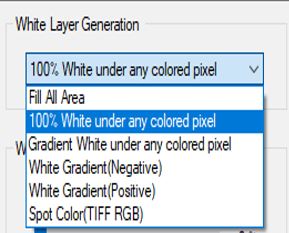
White Layer Generation -
This drop down box Several methods to generate a white layer to provide a backing to your prints on dark objects so the color layer will stand out against the darker object. The following white layer generation options are available.
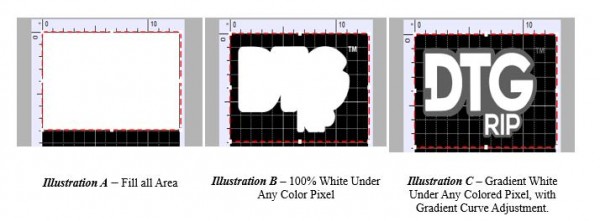
Fill all Area -
Will print a white layer the size of the image. See Illustration A.
* 100% White Under Any Colored Pixel -
This create a layer that places a white pixel any place a colored pixel is present. See Illustration B.
* NOTE: The definition of a "colored pixel" depends on how the image is formatted. Any areas of "white" on an image are not considered a "colored pixel" and therefore will not get white printing, if the image is not formatted as an RGB PNG file for example. See end of response for how this would affect a print.
Gradient White Under Any Colored Pixel -
This will create a gradient white output for every colored pixel in the image. You can use “White Ink Curve (Gradient White) setting to adjust the level of detail the gradient applies to, the gradient only applies to shades of black and gray a white mask is created for all other colors in the image. See Illustration C.
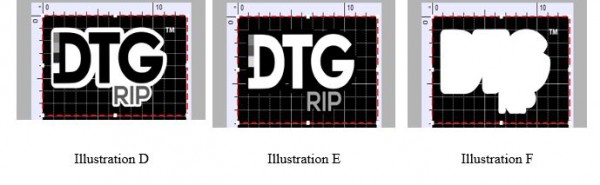
White Gradient (Negative) –
This setting will create a white gradient negative of the image A. Negative image will make dark areas white, white areas black, and other colors a shade of gray. See Illustration D.
White Gradient (Positive) –
This selection will create a white gradient positive for the image. A positive will make the dark areas black and the lighter areas white and any other color a shade of gray. See Illustration E.
Spot Color (TIFF RGB) –
Will create a white positive mask for any non-transparent pixel that is in the TIFF RGB color space. See Illustration F.
* Regarding the "100% white under any colored pixel", your white printing will depend also on how the image is formatted. As mentioned earlier, the image formatting (JPG vs PNG, RGB mode etc) will affect what is considered a "colored pixel" and will therefore determine where white ink is laid out if you use the setting "100% white ink behind colored pixels". The 2 images below are created differently (different formats), and therefore colored pixels are sensed differently, so white ink will print (or not print) accordingly:
In below case, white ink will print everywhere (see the preview on the right):
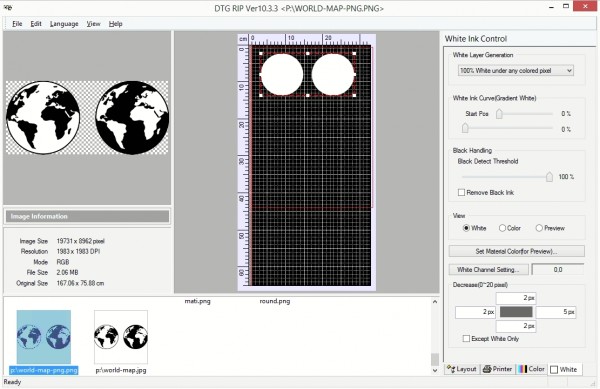
In the below case, same image but created differently (different format), white ink will not print wherever there is white on the image: